The Compute Module Comes Of Age: Say Hello To The Real Cutting Edge Of Raspberry Pi
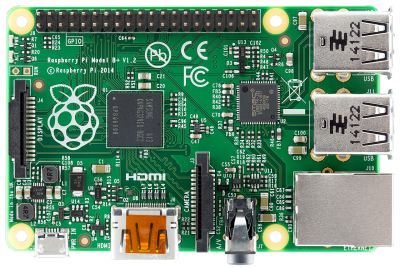
If we wanted to point to an epoch-making moment for our community, we’d take you back to February 29th, 2012. It was that day on which a small outfit in Cambridge put on the market the first batch of their new product. That outfit was what would become the Raspberry Pi Foundation, and the product was a run of 10,000 Chinese made versions of their very first single board computer, the Raspberry Pi Model B. With its BCM2835 SoC and 512 megabytes of memory it might not have been the first board that could run a Linux distribution from an SD card, but it was certainly the first that did so for pocket money prices. On that morning back in 2012 the unforseen demand for the new board brought down the websites of both the electronics distributors putting it on sale, and a now-legendary product was born. We’re now on version 4 of the Model B with specs upgraded in almost every sense, and something closer to the original can still be bought in the form of its svelte stablemate, the Pi Zero.
How Do You Evolve Without Casualties?
The problem with having spawned such a successful product line is this: with so many competitors and copies snapping at your heels, how do you improve upon it? It’s fair to say that sometimes its competitors have produced more capable hardware than the Pi of the moment, but they do so without the board from Cambridge’s ace in the hole: its uniquely well-supported Linux distribution, Raspberry Pi OS. It’s that combination of a powerful board and an operating system with the minimum of shocks and surprises that still makes the Pi the one to go for after all these years.
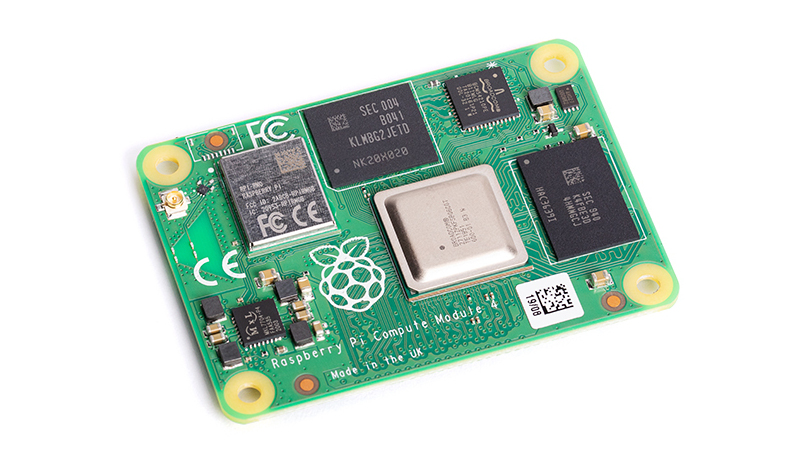
But for all that, the Pi is still a Pi with largely the same interfaces and the same PCB as it had when the original Model B received its first upgrade to a 40-pin header and 4 USB ports. How do you improve on that without breaking compatibility with nearly a decades-worth of projects? We don’t have an inside line on the Pi folks’ R&D thinking on a future Pi 5, but we’d like to advance the theory that they’ve already done so, and with a Raspberry Pi. Not the extremely cute Raspberry Pi 400 all-in-one, but the Pi 4’s stripped down sibling, the Compute Module 4. Say hello to the new cutting edge of Raspberry Pi, it’s where we think the most interesting hardware developments currently lie for the platform.
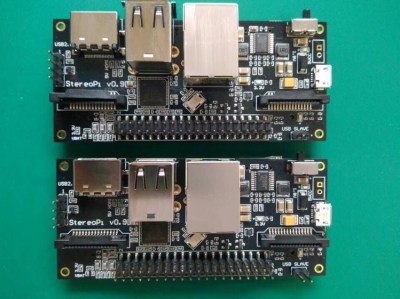
There have been Raspberry Pi Compute Modules for sale since 2014 when the first one appeared as a BCM2835 on a SODIMM form factor. Since the we’ve seen a couple of versions with the Raspberry Pi 3’s multicore BCM2837 still on a SODIMM, but it’s fair to say that with a few very notable exceptions such as the StereoPi they’ve failed to set the world on fire for our community while the Compute Module 4 has in a short time spawned an interesting array of carrier boards.
We’d like to hazard a few guesses as to why this might be the case, among them that early Compute Module pricing wasn’t tailored towards individuals, that the Zero offered a much more affordable way to find a Pi on a smaller PCB, and that while capable the Compute Module perhaps didn’t offer enough extra that a regular Pi couldn’t do. It made sense for the volume manufacturers it was originally aimed at, but not so much for a hardware hacker when the Pi itself was so easily available. The Compute Module 4 in its daughter board format by contrast offers easy availability and some significantly tasty extra interfaces such as the PCI Express bus that make it a far more tempting target for the experimenter than a regular Pi. When you can spin your own Pi to your specifications, why look back? Here are a few examples, should you fail to have been convinced.
A Plethora Of Ways To Spin Your Own Pi
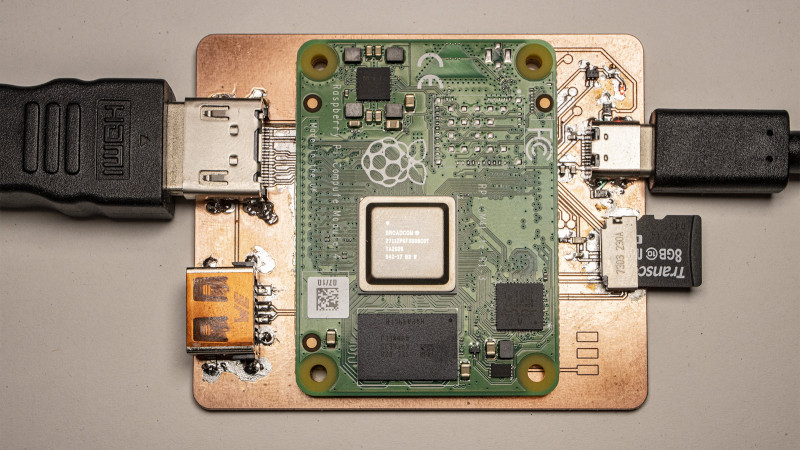
In a similar vein though not quite so simple in its construction is [Arturo182]’s smallest CM4 carrier board. It’s a truly minimalist design that sits on just one of the CM4’s connectors and only exposes a UART, I2C, and SPI. It requires the CM4 version with on-board mass storage, but even with this limited array of interfaces it still has plenty of potential.
Staying with minimalism, the CM4’s own form factor makes a handy template for [Kamil Lorenc]’s uCM4, a board the same size as the CM4 that’s designed as a tiny network powerhouse. It has an Ethernet port of course, and beyond that just micro USB for power and USB2, and a microSD slot for a boot disk. With USB-OTG support we could see it becoming a mini network too accessible from a portable device, for example.
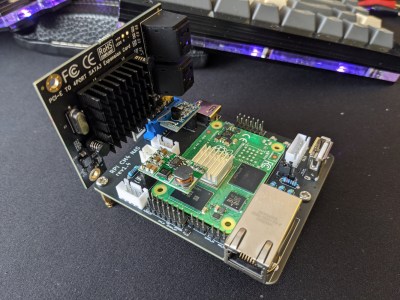
While we’re on the subject of network peripherals it’s worth turning to the CM4-based NAS from [mebs]. Simple NAS devices have long been a Raspberry Pi staple, and this one takes the idea to the next level with a PCIe slot holding a SATA card. This is something that finally turns Pi-based NAS boxes into something that can compete with more conventional devices, as while the USB3 on the Pi 3 offers the speed it doesn’t so much offer the flexibility.
Finally in our quick round-up of CM4 projects is the StereoPi V2. We mentioned the original StereoPi earlier, and when we saw that first board we lauded it as a demonstration of how the earlier range of Compute Modules could be used to spin up a custom Raspberry Pi without the inconvenience of trying to source one of the Broadcom chips. Like the original it incorporates most of the interfaces that make a Pi a Pi, but it does so in its own compact form factor and sporting those two camera connectors that are it’s raison d’etre.
We hope that having had a chance to see all these CM4 boards in one place will have convinced you that there’s something in the idea of freeing yourself from the constraints of a mere Pi. We hope the Raspberry Pi folks will be watching the breadth of work done using their creation too, and will make future Compute Modules ever more accessible. Welcome to the new face of the Raspberry Pi!
Header image: SparkFun, CC BY 2.0.
Post a Comment