
The Case of the Mysterious Driveline Noise
Spend enough time on the automotive classifieds and you’ll end up finding a deal that’s too good to pass up. The latest of these in one’s own case was a Mercedes-Benz sedan, just past its twentieth birthday and in surprisingly tidy condition. At less than $3,000, the 1998 E240 was too good to pass up and simply had to be seen.
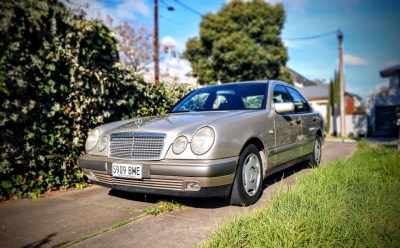
The car was clean, too clean for asking price. Of course, a test drive revealed the car had one major flaw – an annoying hum from the drivetrain that seemed to vary with speed. Overall though, mechanical problems are often cheaper and easier to fix than bodywork, so a gamble was taken on the German sedan. The first order of business was to diagnose and rectify the issue.
Characterise, Research, Investigate
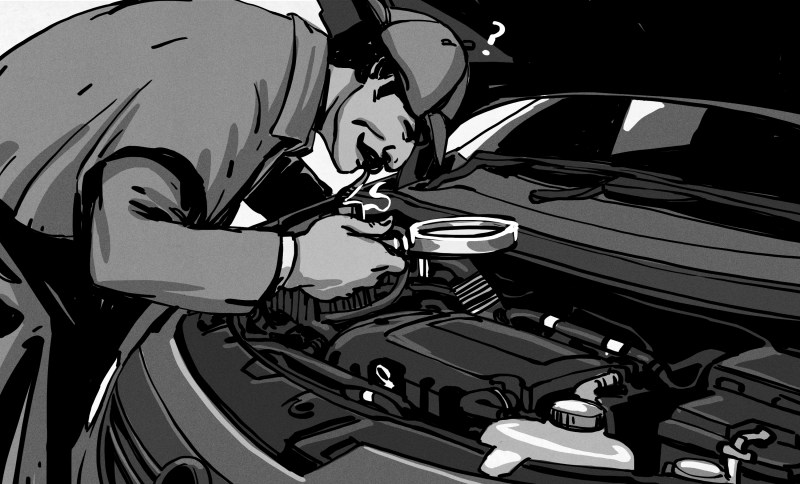
The first step to hunting down any noise is to characterise it as much as possible. In this case, the noise was most noticeable when the car was traveling at speeds from 40 km/h – 60 km/h, present as a vibrational humming noise. The location of the noise source was unclear. Importantly, the noise varied with the speed of the car, raising in pitch at higher speeds and dropping as speeds decreased. Engine speed had no effect on noise whatsoever, and the noise was present regardless of gear selected in the transmission, including neutral.
All the above tells us that the noise is not coming from the engine, and likely isn’t coming from the transmission either, barring perhaps the output bearing. The fact that the noise varies with speed tells us that it is coming from something that’s moving in relationship to wheel speed. This could thus be a wheel or tire out of balance, worn wheel bearings or brakes, a noisy differential, or an issue with the driveshaft, its associated bearings, or couplings. That’s a lot to be going on with, and far too much to simply go about replacing parts until the noise goes away. The source of the noise had to be narrowed down if it was to be fixed. This can often be difficult, as components like the suspension and driveshaft can transfer or magnify the noise, obscuring its original location.
Prior to purchase, with the noise quite obvious, due diligence meant doing enough research to ensure the problem wasn’t likely to be catastrophic. Searching forums for common sources of noise revealed the W210 series to have a relatively solid transmission and engine, with everything else downstream in the drivetrain comparatively simple and easy to fix if it was defective. Thus, the car was bought for the price of $2650 Australian dollars, with an earnest belief the problem could be rectified without excessive expenditure.
To rule out wheel bearing issues, the car was jacked up, and wheels rocked back and forth to check for play. None was found, and similarly the noise was noted not to vary regardless of steering load on the wheels, suggesting the bearings were sound. Visual inspection showed the wheels to be in good condition and tyres to be only a year old; given the inconvenience of sourcing another set to test on the car, they too were set aside at this stage of the investigation. Brakes were also ruled out, as the sound didn’t change whether they were applied or not, and the noise was not the typical grinding sound associated with such parts.
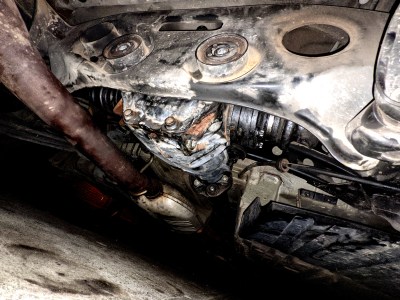
To look further into the drivetrain, the car was placed up on jackstands. This would allow inspection of the differential, driveshaft, rubber driveshaft couplings, and the driveshaft’s center supporting bearing. With some struggle, the rear driveshaft coupling was removed, indicating some age, but overall, the rubber was intact. There was seemingly nothing wrong with the driveshaft or its center bearing, either.
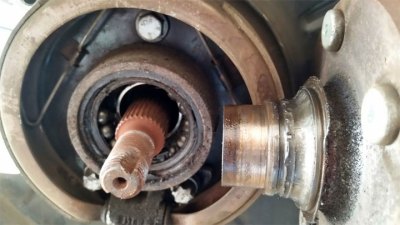
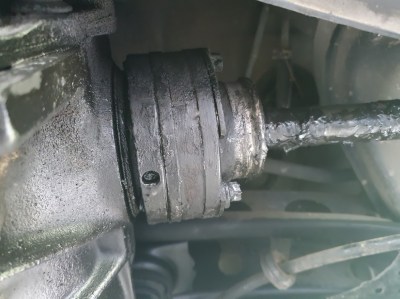
The differential, however, was another story. Rocking the input back and forth revealed significant play in the pinion. The differential would make a noticable clunk when the pinion was jiggled to and fro as it hit the teeth of the ring gear. Some play is normal, but a hunch suggested this was at excessive levels. The pinion also exhibited obvious play fore and aft, suggesting something was sorely wrong with the differential. Turning the pinion by hand also revealed a somewhat crunchy feeling, suggesting bearings in the differential may be worn – a surefire cause of a noisy driveline.
At this point, the vehicle was sent to a mechanic’s workshop for evaluation, and ideally, a new differential. The mechanics were able to readily identify the source of the noise as coming from the differential’s pinion by running the car in gear while on a lift, and localising the noise with a stethoscope. This is unsafe to try on jackstands, but is simple to do in a mechanic’s workshop. It proved useful to verify the differential was indeed the problem. The loudest noise could clearly be heard emanating from the differential itself, even if the driveshaft was acting as somewhat of a speaker to amplify the noise elsewhere on the car. It could also be achieved with a more modern tool, commonly known as “chassis ears”. These allow microphones to be placed around the car to easily diagnose problem noises at the source, even while driving around. These kits are nevertheless expensive and often out of reach of the home mechanic. (But might make a nice DIY project on their own.)
The Repair
With the source of the noise now identified, the differential needed to be replaced. With parts difficult to find locally, the job was beyond what the workshop was willing to take on, so naturally it became a DIY job to find and install another differential. Sadly, Mercedes-Benz owners have not historically spent much time working on their own vehicles, meaning DIY manuals simply don’t exist for many models. Instead, the best method for finding clear workshop instructions is to purchase access to the Mercedes-Benz WIS information system through grey-market sellers on various online marketplaces.
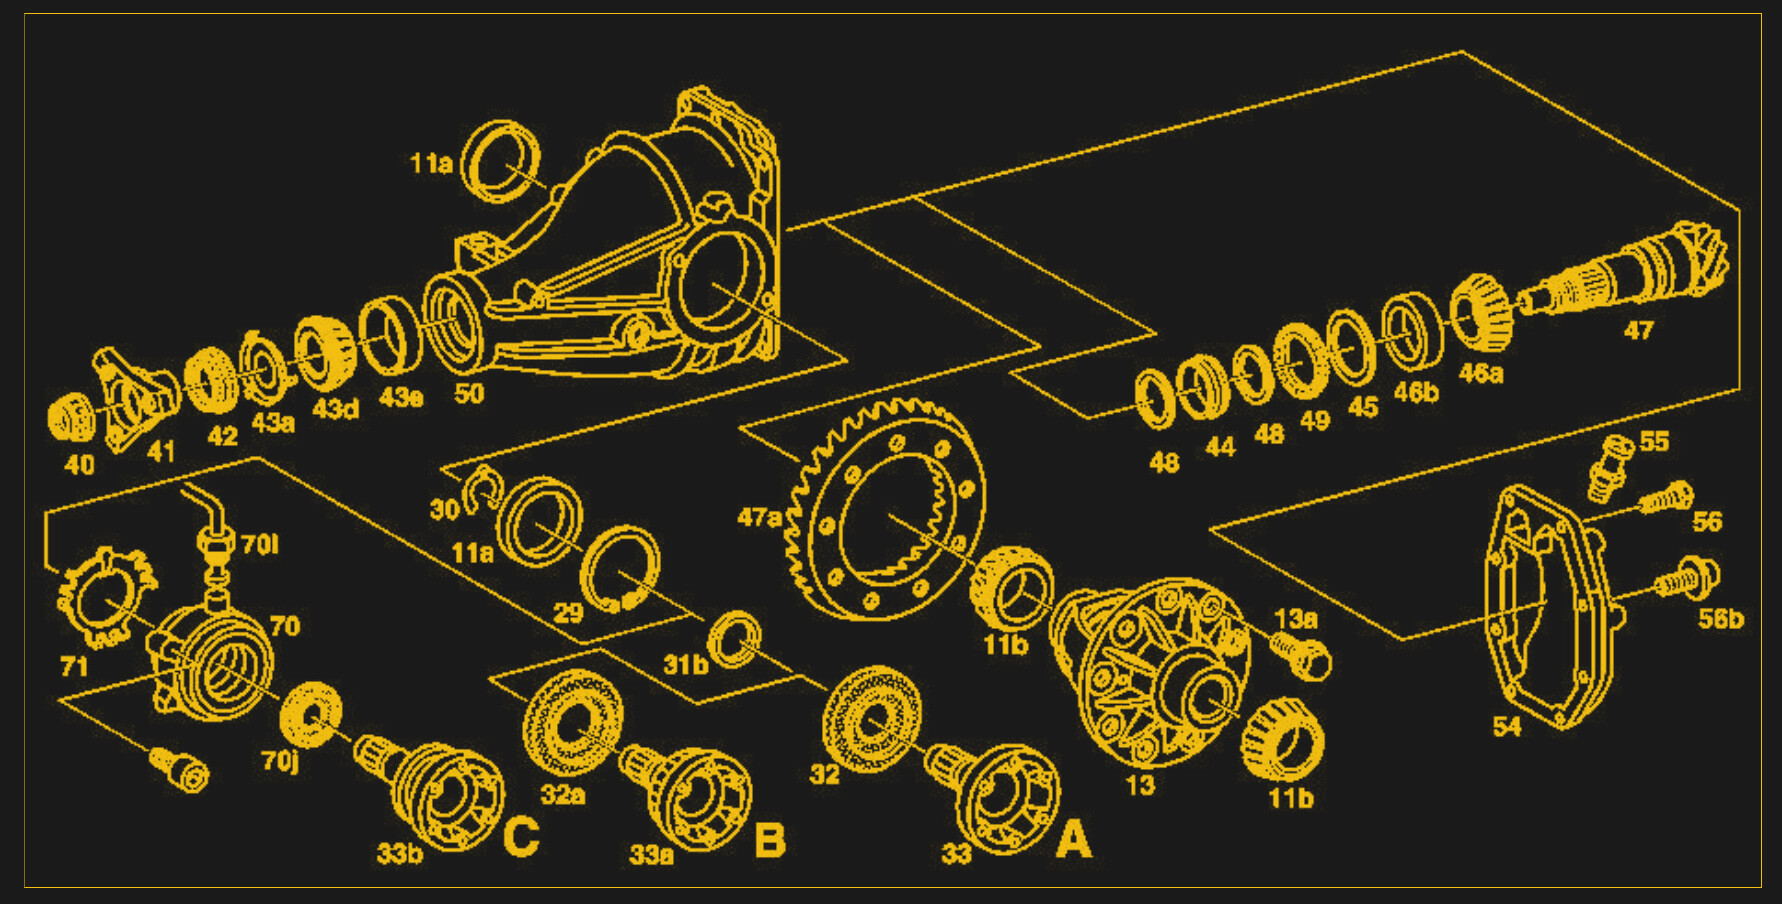
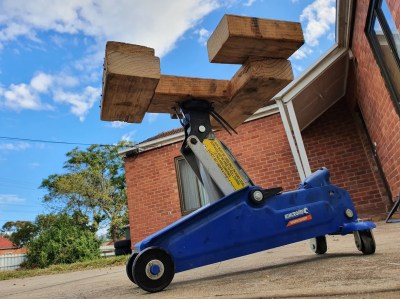
Armed with factory instructions on how to execute the fix, and a good quality used differential from another E-class Mercedes, the only thing left to do was to change over the parts. A differential swap is an intermediate-level job for the shadetree mechanic, requiring some care to avoid being crushed in the process of removal and installation. A custom tool was required to avoid this, in the form of a cradle to support the differential during removal and to help lift the new one into place. Those who can muster a serious bench press number might find it unnecessary, but by and large, it’s better to have a structure in place to hold the differential rather than risking dropping it on one’s own face. Other than that, it’s a simple job requiring the removal of just three main support bolts and a handful of smaller fasteners that hold on the half shafts.
The process naturally proved more difficult than expected. Eight hours were lost tangling with the E-Torx bolts that hold the half-shafts on to the differential output flanges, mostly in yelling, frustration, and trips back to the store for new tools. Eventually, the combination of a large breaker bar and impact wrench got the bolts free. An important thing to note is that an impact gun with a nearly-dead battery may sound like it’s working fine, but its strength is greatly diminished. Recharged batteries make all the difference for the more difficult bolts out there.
The difficulty of loosening the flange bolts lead to further complications. To get a clear shot at loosening them, the rear CV joint boots had to be moved, necessitating their reclamping during reassembly. This required the purchase of new tools solely to reclamp them in place. Removing them also lead to molybdenum grease getting absolutely everywhere. Useful techniques were learned along the way, however, such as jacking up the rear suspension in order to change the angle of the half-shaft to the differential, making access to certain bolts much easier.
Once the old differential was removed, it was comparatively easy to lift the new one in place, and get everything installed as it should be. The homebrewed jack cradle proved invaluable here, as it’s difficult to lift a 30 kg differential into place while simultaneously tightening up the bolts on one’s own. Thanks to the sealed design, the new differential could also be filled with the appropriate lubrication before installation in the car, making the whole process a much cleaner affair. It was tempting to take the opportunity to handle other maintenance jobs while the car was up on jackstands. However, any mistakes could lead to confusion if noises or other issues were present after the differential swap. Thus, the differential was completed, and other work left for a later date.
With the car put back together, it was taken out for its first drive with bated breath. Gloriously, the dreaded noise was absent, and the reward was a quiet, comfortable German sedan. Taking around 22 hours of my own unskilled time, and having spent $500 on tooling and fluids, it came out feeling like a win compared to the $1,200 a local garage quoted for the same job. Given that professional mechanics with proper equipment could likely do the same job in under six hours flat, going it alone was surely the right move. As a bonus, plenty was learned along the way.
Noises should be investigated methodically, and ideally localised to a single component prior to replacing any parts if one is to succeed. Patience is also key, to avoid costly mistakes such as rounding off bolts or stripping threads along the way. Overall though, the key is to trust in your ability to learn, and to investigate a problem until you understand what is happening at a fundamental level. Only then will you guarantee that the issue can be properly fixed.


Post a Comment