
What If I Never Make Version Two?
When you make something, what does version one look like? What I mean is, how much thought do you put into the design? Do you try to make it look nice as you go along, or do you just build something that functions and say screw the presentation? Do you try to solve for everything upfront, or just plow through it and promise to fix your mistakes in version two? What if you never make version two?
No matter what you like to make, there’s a first time for everything. And it doesn’t seem to matter if you need the thing you’re making or just want to have it around: it’s a given that version one will probably be a bit rough around the edges. That’s just how it goes. Even if you’re well-versed in a skill, when you try a new type of project or a new pattern, it will be a new experience. For example, I’ve sewn a dozen different purses, but when I took on a new challenge I found I was only somewhat prepared to make my first backpack.
Great is the enemy of good, and perfection is the enemy of progress. Shooting for a pristine prototype on the first go steep and rocky path that never leads to finishing the build. So our goal here is to decide what makes rev1 good enough that we still love it, even if rev2 never happens.
Want vs. Need
Of course, the answers to all of the opening questions greatly depend on want versus need. When I’m making something for fun, I’m happiest while I’m still inside the project. I want it to be over so I can see the finished product, but I also don’t want the process of making it to end, because that’s the fun part. It’s like reading a really good book. With sewing projects, I’m always really excited to see how they come together. It seems like no matter how I manipulate fabric beforehand and try to visualize how something will turn out, the end result is always a little bit of a surprise.
If I need the thing I’m making, I’m more likely to work quickly and cut corners to get the thing into use. The trouble with that is if I don’t spend enough time in the design phase, I’ll probably end up annoyed at the very least, or back to square one without a viable solution. In either case, I’ll admit that I have a pretty serious case of perfectionism. It affects everything I do. I love and hate this part of myself in equal amounts, because I’ve made some things I feel fairly proud of. But I’m usually too hard on myself along the way. If I were any harder on myself, I would probably never start or finish anything. Try to reign that in by setting expectations in the design phase, with plenty of thought spent on how you’ll achieve each needed feature.
 Case in Point: The Practice Backpack
At the beginning of this year, I decided to make a backpack and document the process. I had made exactly one backpack before this one, but the designs differ enough that I decided to make a practice backpack first out of fabric I already have. This way, I can go through the pattern once and work out the kinks before buying fancy, expensive fabric — something I didn’t do with the first backpack and somewhat regret. In dressmaking, this is called making a muslin. It’s somewhat akin to a circuit made on stripboard: a functional prototype that’s more permanent than a breadboarded circuit. It may not be pretty, but it works. Ideally.
It’s not that I needed a backpack, I just wanted to practice bag-making, because I learn something from every new pattern I try. Even so, I knew I didn’t want to make any old thing. This is where my personal design conundrum begins. Yes, this is something I want to do rather than something I need to do. But I still have to consider how much time and money I’ll be investing in making the thing. I didn’t keep a clock running this time, but I would estimate that it took at least ten to fifteen solid hours of my free time. Shouldn’t I make it as pretty as possible?
Another thing to consider is that the end product will be a backpack, a real, functional backpack. This is not a breadboarded version of a backpack full of safety pins and/or hot glue. I will be using real fabric, working zippers, and actual webbing for the handles and straps. It doesn’t have to be perfect, sure. But shouldn’t it lean toward making me proud rather than embarrassed? I say yes. Because I might want to use it, or even sell it to someone else if it turns out well enough. So this practice backpack required plenty of decisions up front, from the fabric to the zippers to the hardware.
Decisions, Decisions
First and foremost was choosing the fabrics. Fabric is expensive in general, so instead of buying new fabric, I took a long, hard look at my stash — my parts bin if you will. The more bag-making I do, the more that everything looks like usable fabric to me, especially big things like table cloths and decorative shower curtains. A few years ago, I bought an off-white canvas drop cloth to use as a photography backdrop. It has since been wadded up and forgotten, so I threw it in the wash, thrilled with the idea of sewing a bunch of bags with what feels like free fabric.
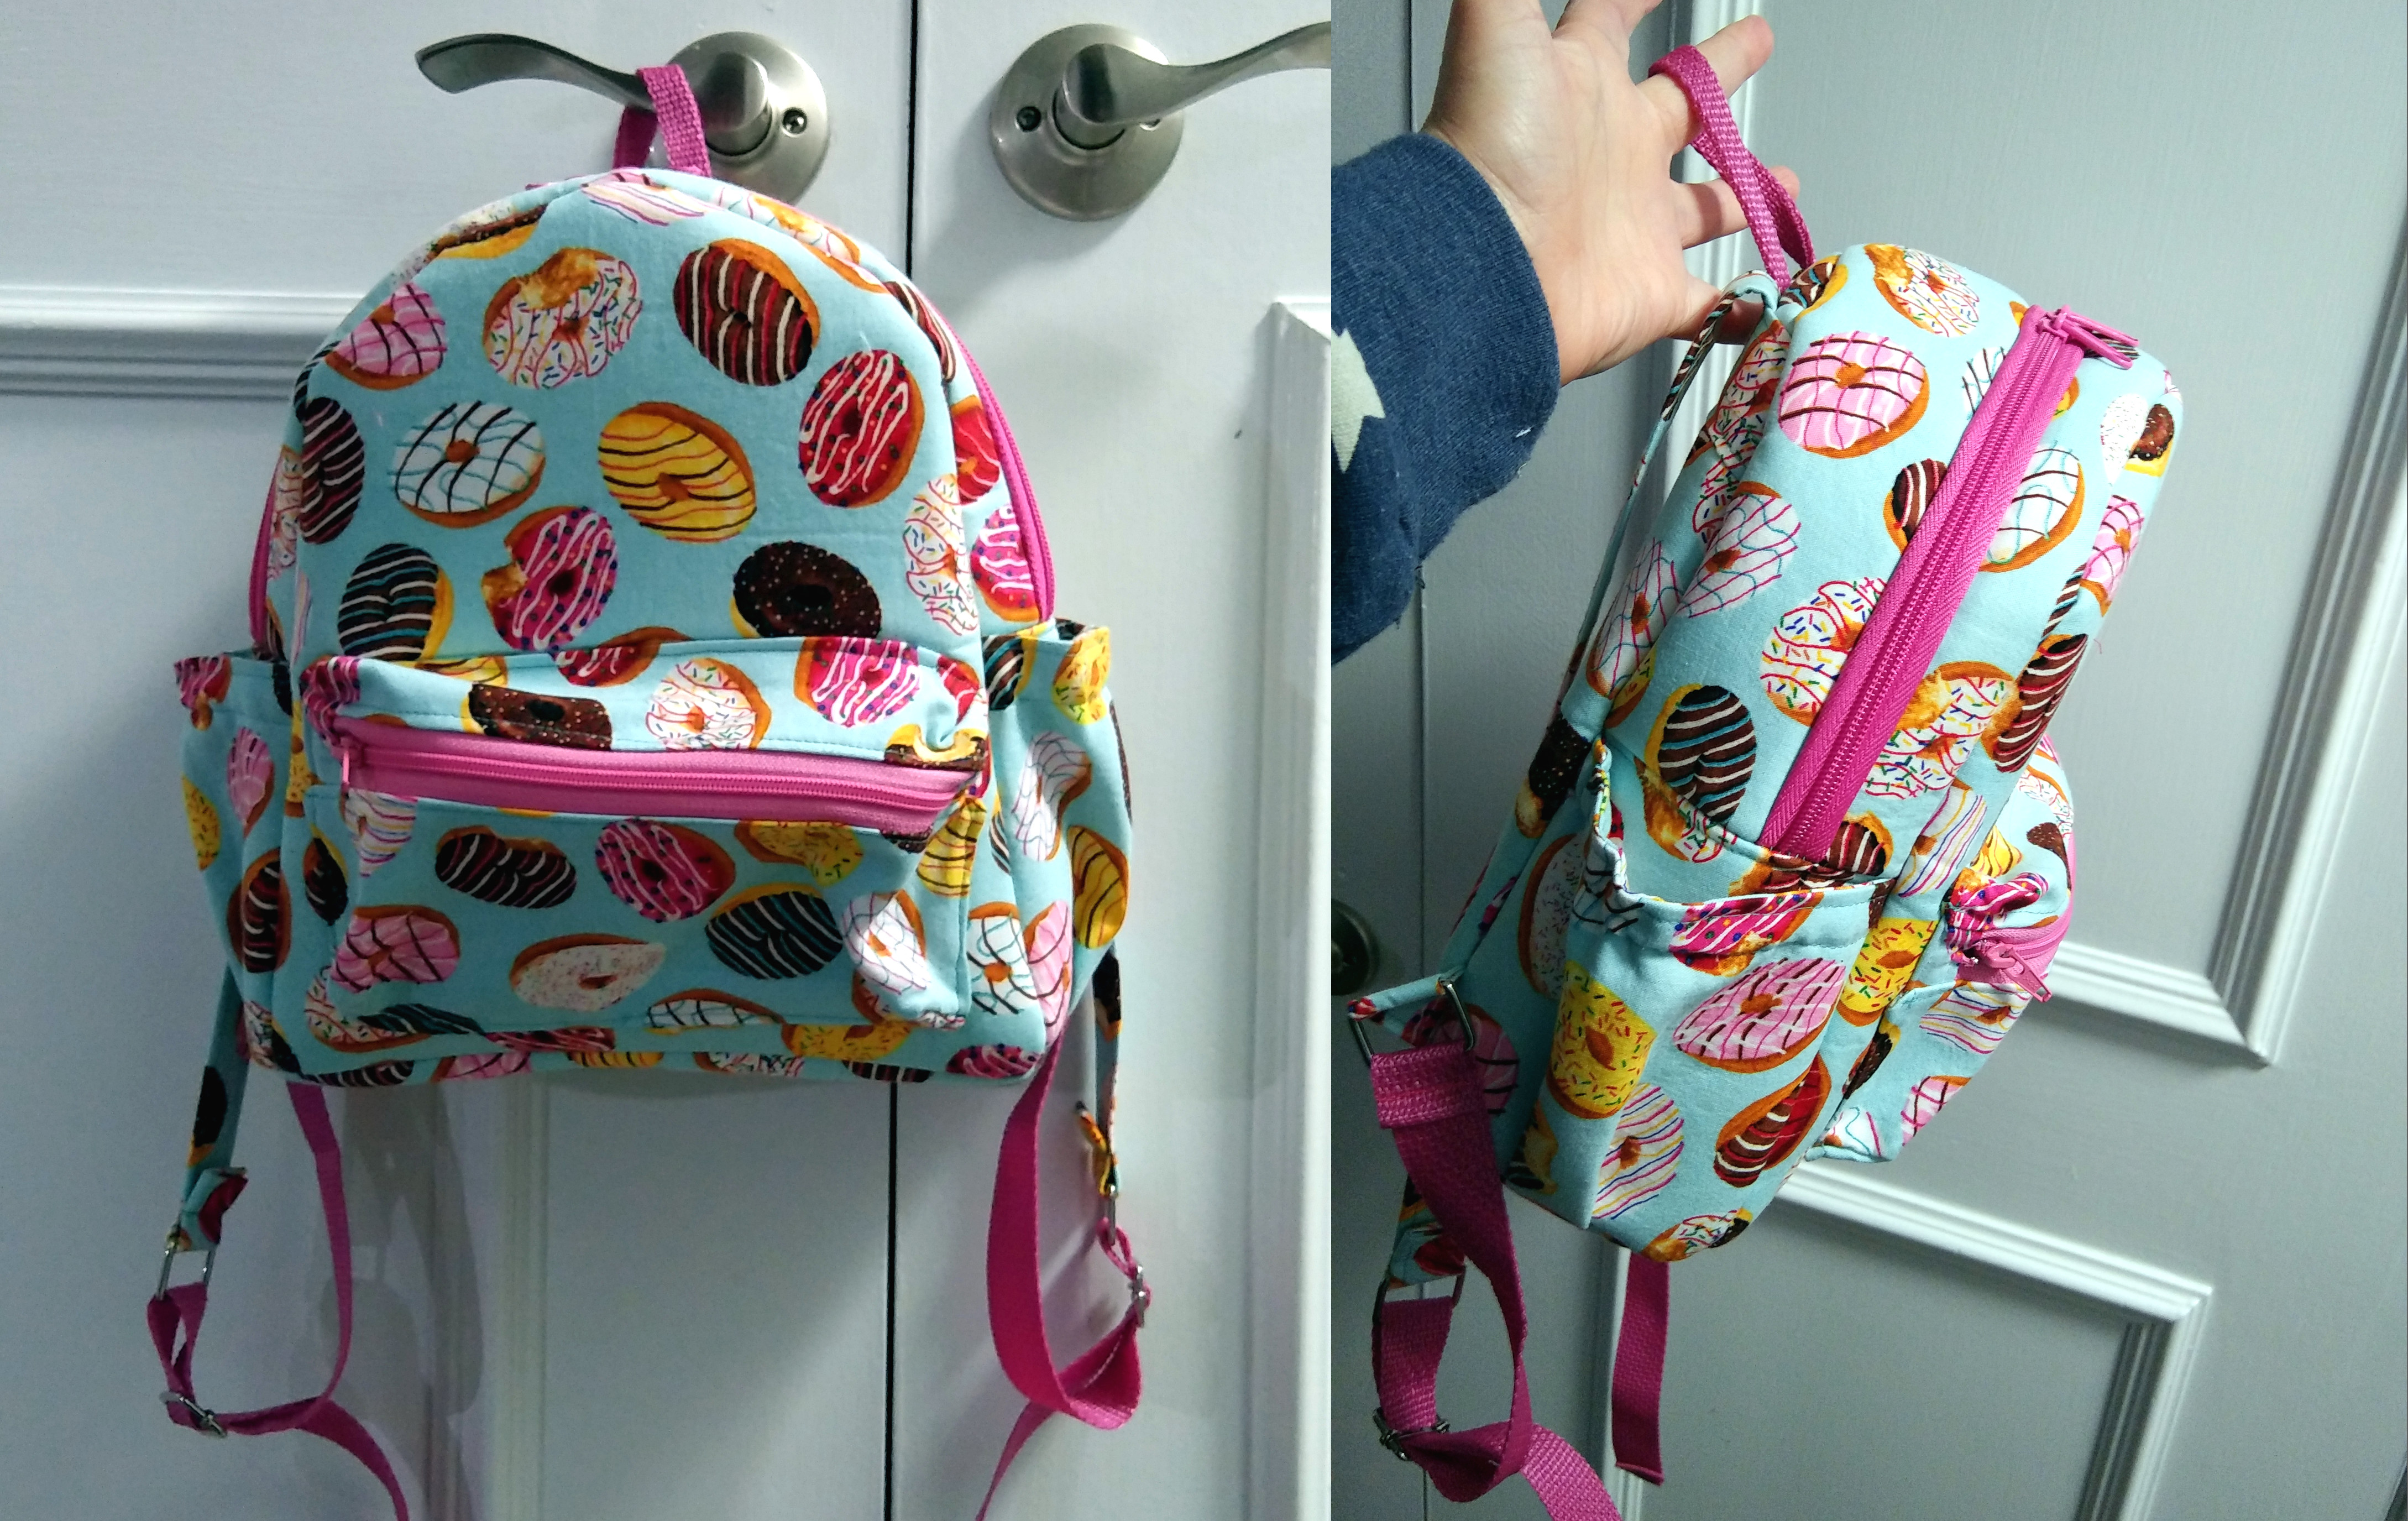
This project is a lined backpack, so it calls for an exterior fabric and an interior fabric. The first pastry-pocked backpack I made, the tiny purse-sized one, uses the same fabric inside and out — a thin quilting cotton like standard bed sheet material. In order to make it suitable for a bag, it all had to be interfaced.
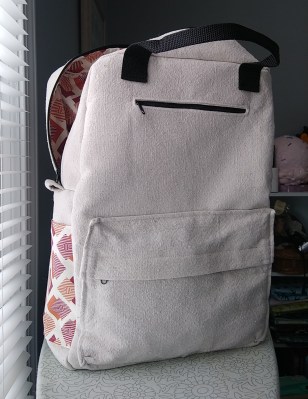
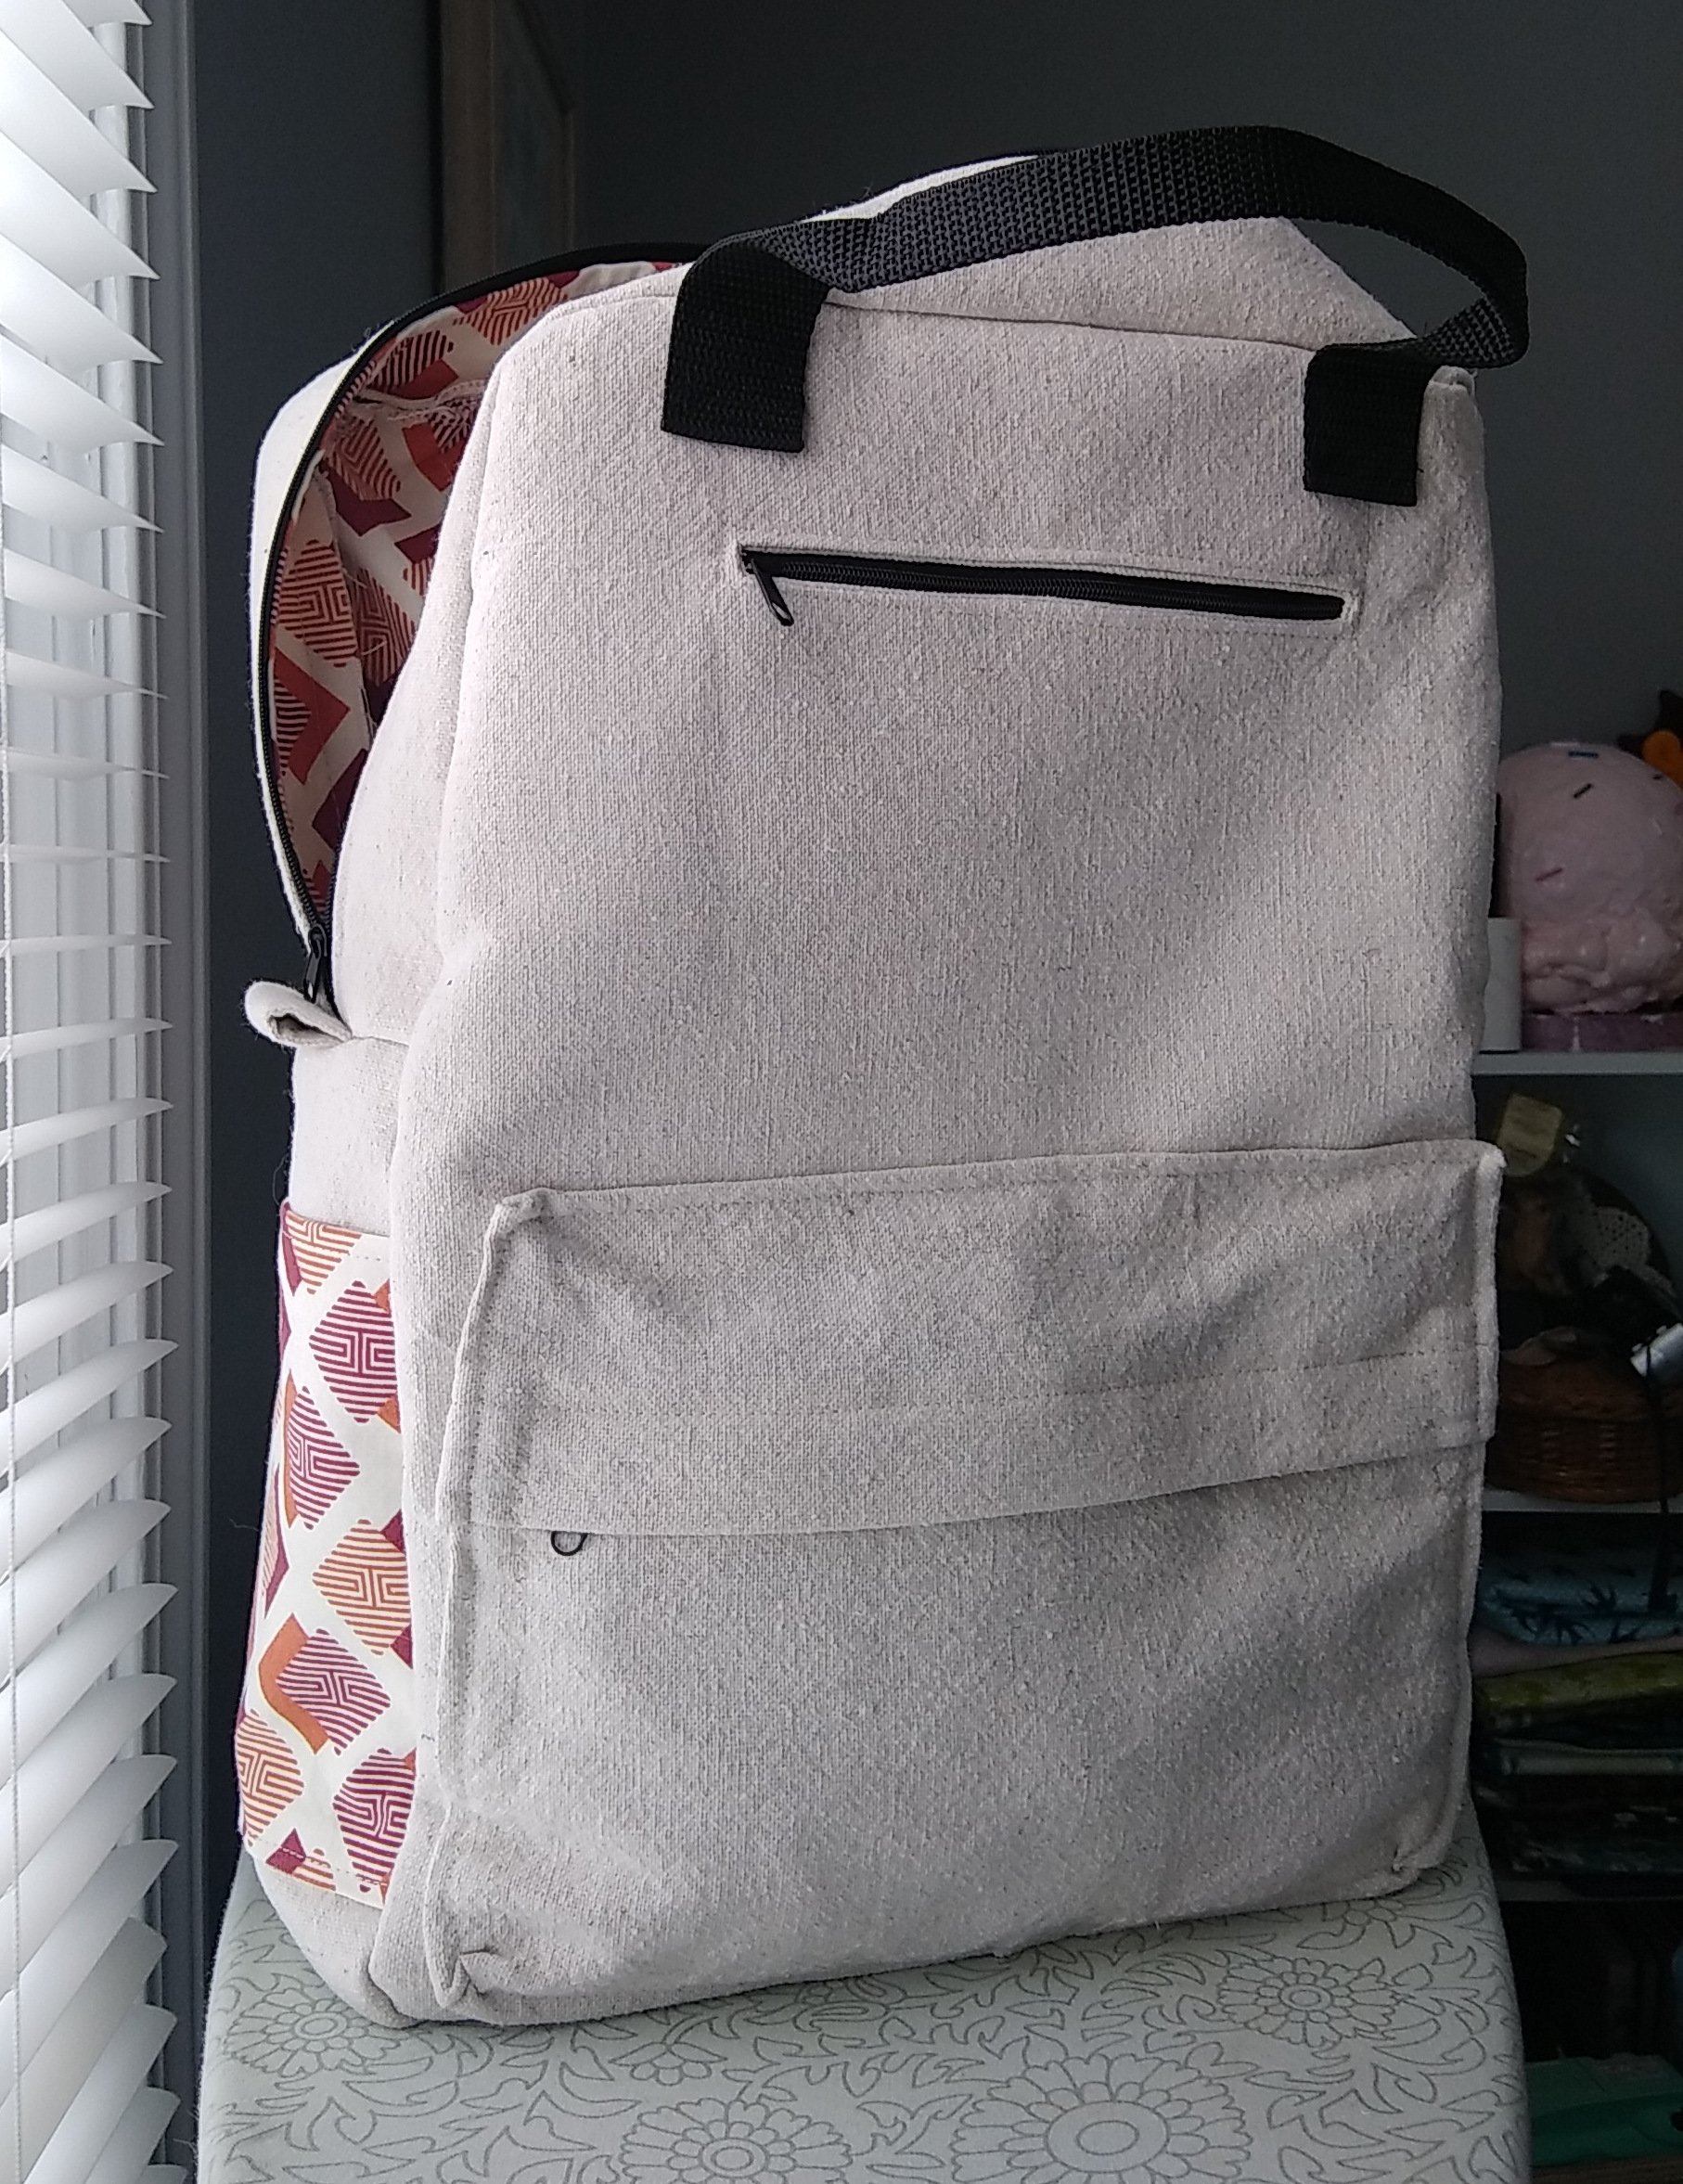
Interfacing is a material that’s applied as a backing to any fabric that needs more body. I’m exaggerating a little, but you can make anything out of anything if you have the right interfacing. Think of it like a veneered cabinet door: the fabric you want to show is the veneer, and the interfacing is what lies underneath, giving it the strength and structure it needs to pass as a cabinet door. In the case of the doughnuts backpack, the exterior pieces have two types of interfacing — woven first, and then foam. The backpack is empty in the pictures above; it’s the foam interfacing that gives it all that shape.
For the lining, I turned back to the fabric stash. I have several yards of a geometric-patterned quilting cotton in a southwestern/earth-toned color palette that I think looks really good next to the drop cloth canvas. At some point early on in the project, I decided to use lining fabric for the exterior side pockets to add visual interest.
Generally speaking, the heavier a fabric is, the less interfacing you need to strengthen it. The drop cloth I used is made of a lightweight canvas, so it has enough body that I didn’t have to interface it all. (Avoiding the use of interfacing is my new favorite thing, because that stuff is stupidly expensive.) On the other hand, the lining material I used is like bed sheets — too floppy to use by itself without interfacing, even in the lining.
 Zippers vs. Zipper Tape
For both backpacks, the first step is making the zippered cargo pocket on the front, so I knew I had to make my zipper decisions early on.
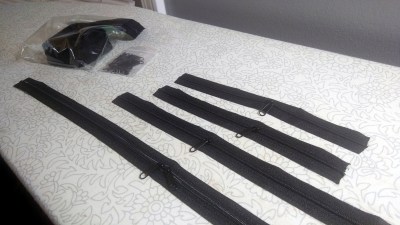
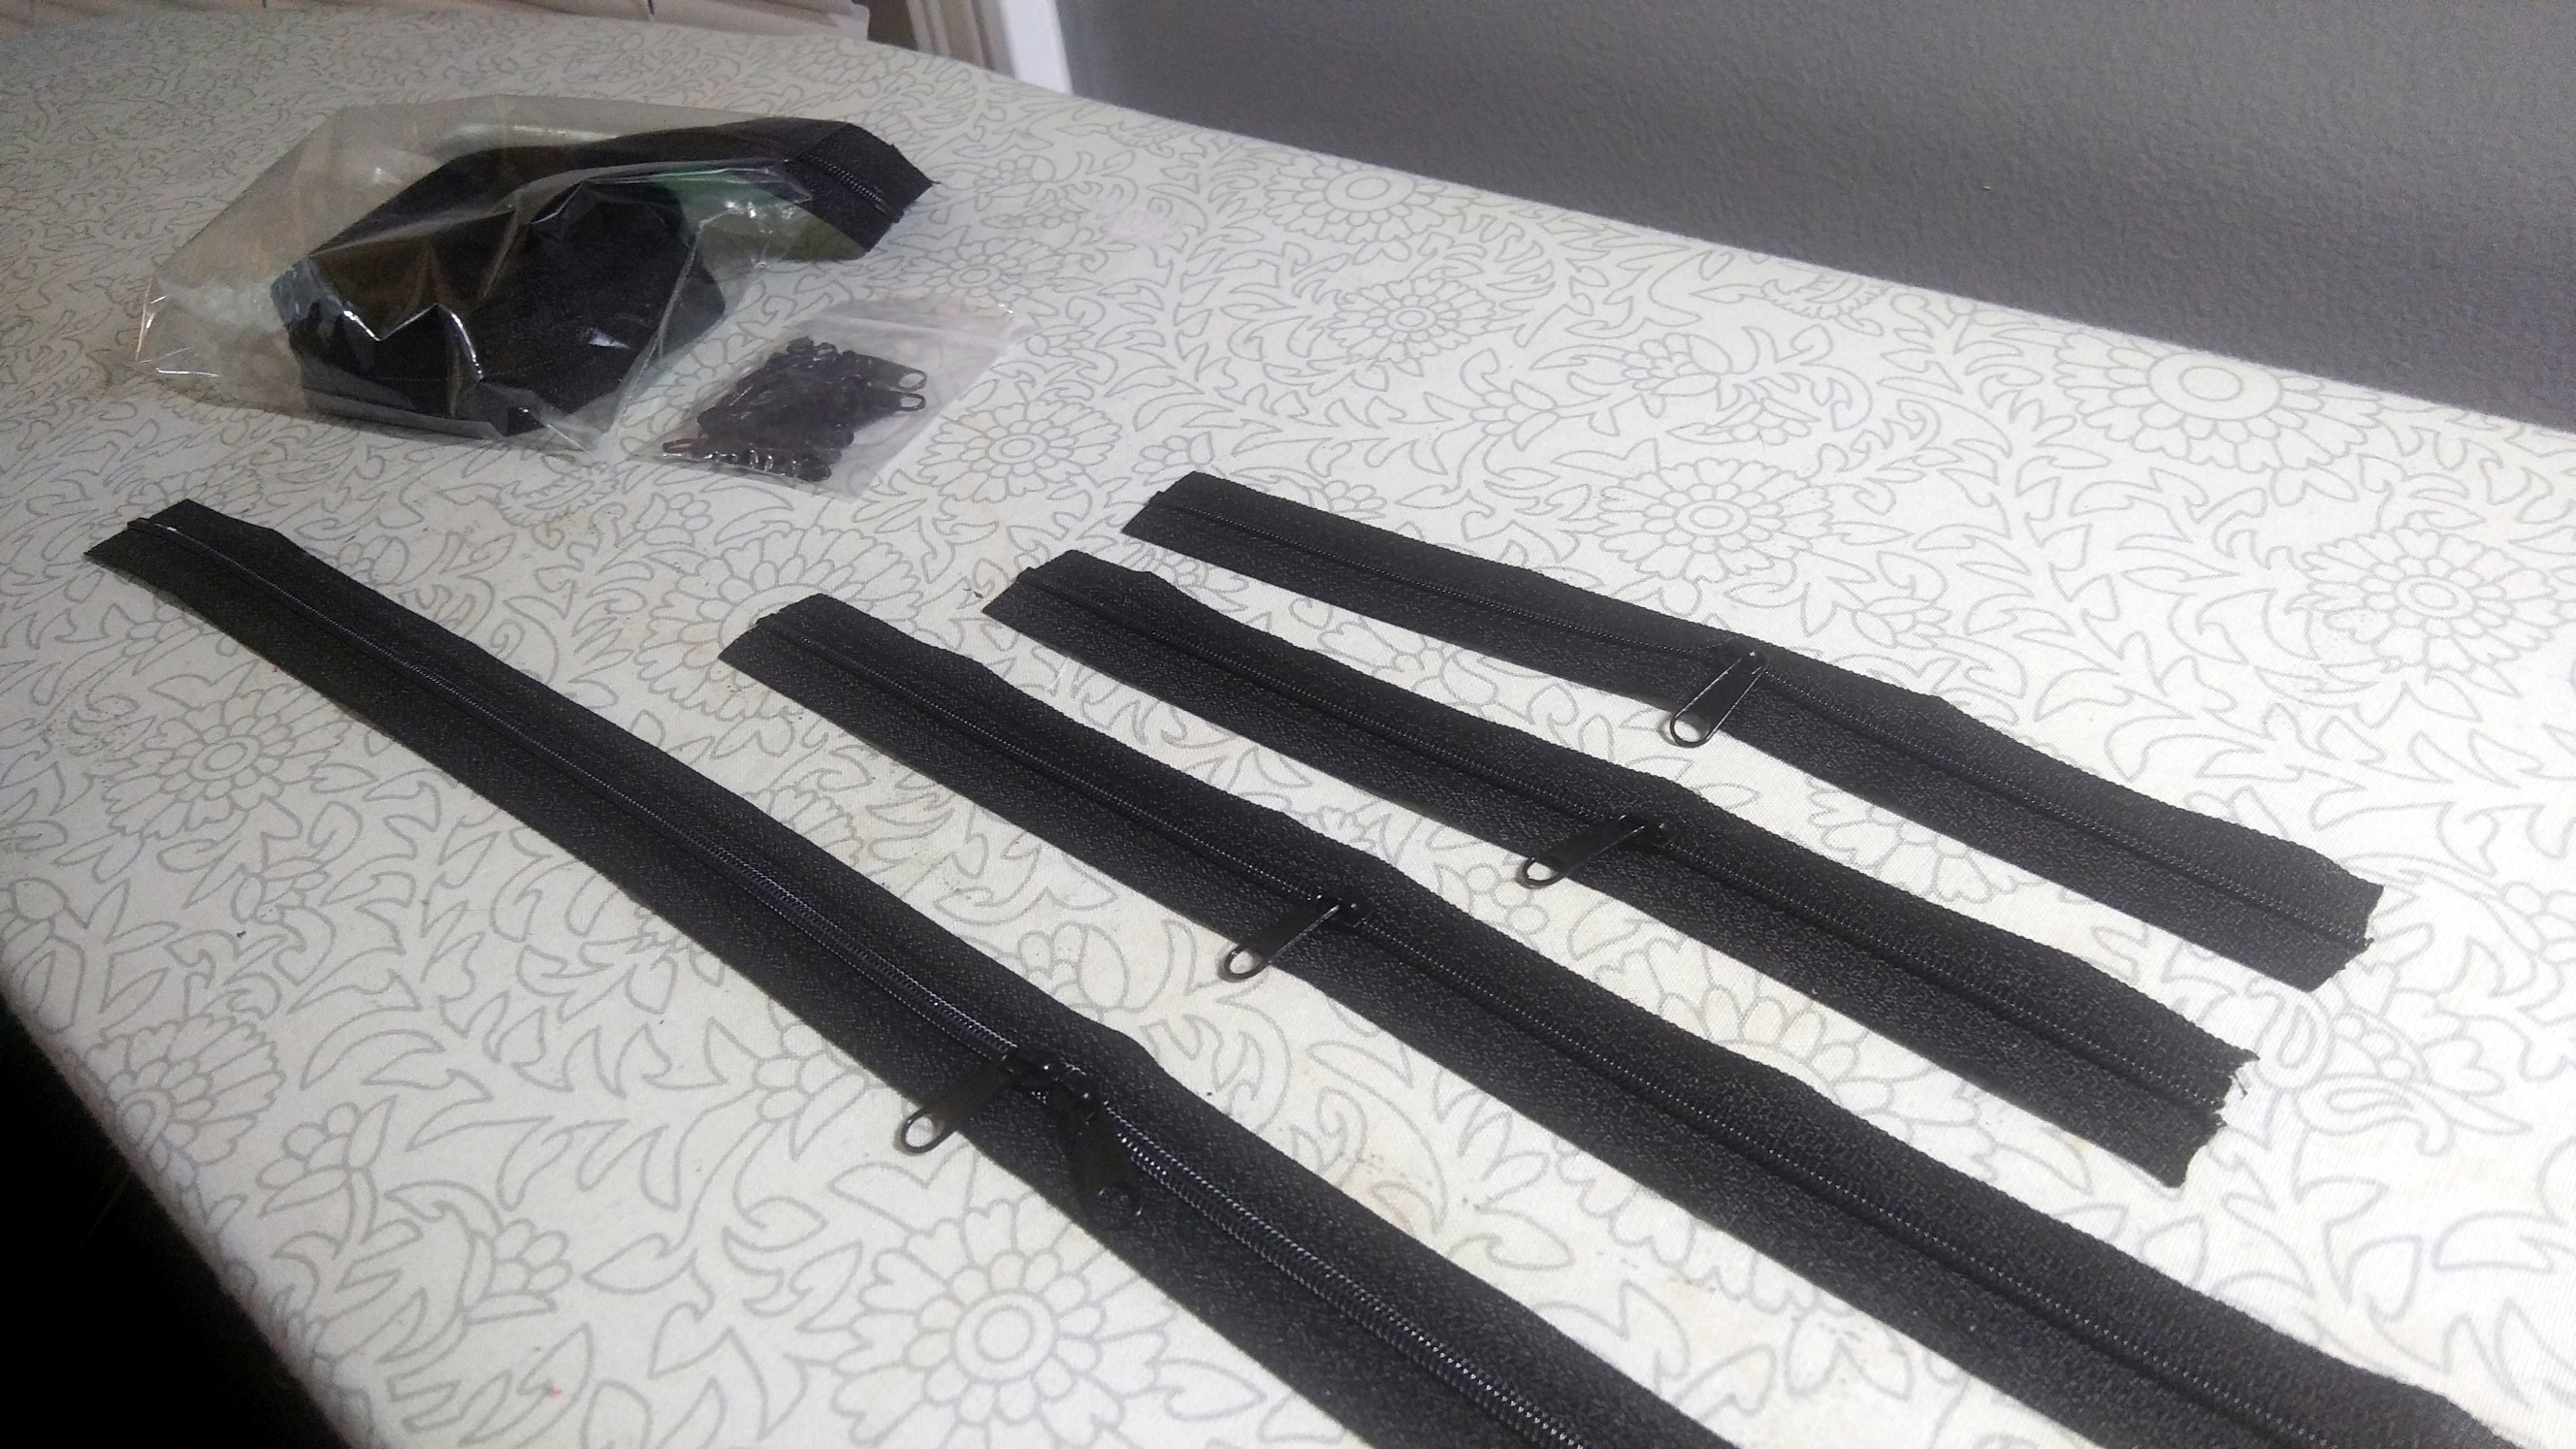
This backpack has four zippers total: one 24″ zipper with two kissing zipper pulls for the main opening, an 11″ zipper for the front patch pocket, and two 8″ zippers, one for the exterior pocket above the patch pocket, and one for the interior pocket.
Here’s the thing about zippers: buying single, pre-made zippers gets expensive fast. Although it’s certainly not easier to do it this way, it is much more economical to buy a few yards of zipper tape and some pulls and make them myself. Plus, now I have some extra black zipper tape and pulls in my stash for the next bag.
Webbing, Handles, and Hardware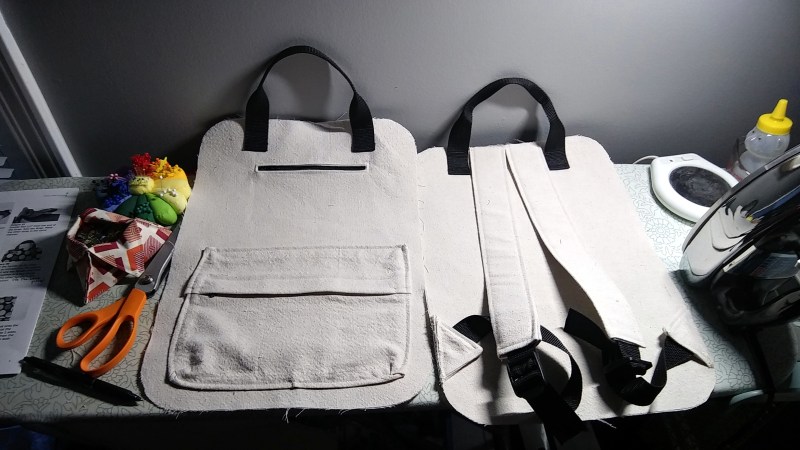

This pattern calls for ladder lock buckles, which are your standard backpack strap adjuster thingies. Standard as they may be, I didn’t have a single one on hand — only metal hardware. Much like the zippers, they are cheaper in bulk, so now I have 48 more ladder lock buckles to use in 24 more backpacks.
It’s the same with the polypropylene webbing that makes up the handles and the adjustable part of the straps. The backpack would probably look better if I found some in a fun color that matches the interior fabric, but this is version one. It’s cheaper and far more practical to buy several yards of black webbing, because black goes with almost everything. I did already have some webbing, but it’s the wrong size for the pattern. Now I have it in two sizes.
Enter the Project Conundrum
Bag-making is just like anything else — it takes materials, tools, time, and effort. I tell myself it’s cheaper in the long run to buy hardware and other things in bulk, because I’ll have them around to make more bags. I used to think that I wanted to make my own clothes, but bag-making is much more fun and practical, especially when it comes to selling them.
The problem is I now have a fully functional backpack that I merely like and don’t love because of my material decisions. I’ll be honest — I don’t know if I’ll ever make version two of this backpack. I probably will if I come across the right fabric because I don’t have any other square backpacks. I’m glad I put thought and effort into version one, but there are some things I would do differently, like adding foam padding for the laptop-sized pocket. Now that I know how it goes together, I would probably add more pockets, or maybe even hack the pattern and change the size.
So, if I had made those different decisions from the start, would I be strapping on my beloved backpack as my daily driver, or would I never have gotten the thing off the ground in the first place? That’s a tough line to walk.
And You?
So, how about you? How much effort do you put into version one of any given project? Does it really matter, as long as you finish it and move on? That question is probably worth a think piece of its own.


Post a Comment